Wedding photos are perhaps the most important mementos from your big day. You’ll proudly display these images in your home for years to come and share them with your children and grandchildren. That’s why having a photo stand at your wedding is so important – it allows your guests to capture candid, memorable shots that you’ll cherish forever.
Setting up a DIY backdrop for wedding photos doesn’t have to be complicated or expensive. With a little creativity and elbow grease, you can create gorgeous stands for your guests to take photos at. This comprehensive guide will walk you through everything you need to make your own decorative photos stand, from picking the right location and style to decorating and accessorizing. Let’s get started!
Choosing a Location
When deciding where to set up your photos, consider foot traffic, lighting, and backdrop. You’ll want the area to be easily accessible to guests but not heavily crowded. Check the lighting at different times of day to find the most flattering illumination. Window light and shade from trees create excellent diffusion. As for the backdrop, wall murals, gardens, fountains, and architectural details make eye-catching statements. Think about your wedding style and venue aesthetics when selecting an appropriate spot. Mark off the space in advance and make sure there’s enough room for a small line to form.
Constructing the Stand
While you can always rent a photo booth backdrop from specialty vendors, building your own is rewarding and affordable. The main component is the stand. This provides height, support, and a place to hang your backdrop. Some popular stand options include:
Wooden A-Frame: For stability, construct a triangular wood stand with vertical legs and a horizontal crossbar. You can get crafty with salvaged barn wood or purchase ready-made sections at the hardware store. Dress it up by affixing flowers, fabric, photos, or other decorative elements to the frame.
PVC Pipe: Lightweight and adjustable PVC pipes quickly slide together to create a stand. Decorate the white pipes with ribbon or artificial vines and flowers using cable ties or zip ties. For added variety, use curved pieces.
Shepherd’s Hooks: Embedded in the ground or weighted shepherd’s hook stands provide excellent sturdiness at an affordable price point. Position a pair close enough to suspend a backdrop between them or stand-alone to display signs.
Fence Panel: For outdoor weddings, transform a metal garden fence panel into an upright stand. Use sturdy metal brackets to mount it to wooden posts. The pretty vintage design incorporates the stand and backdrops all in one.
No matter which option you select, make sure the dimensions fit your backdrop and the stand feels secure and not easily tipped over. Use sandbags, stake stands into the grass, or weigh bases down for precarious setups.
Hanging the Backdrop
With your stand assembled, it’s time for the fun part – hanging the backdrop! First, decide if you want an enclosed backdrop like a photography studio or an open-sided display. Open sides allow for more guest interaction and creative portraits including the surrounding scenery. Enclosed backdrops provide a more professional, polished look.
Here are some chic homemade backdrop ideas:
Fabric: Lightweight cotton, lace, burlap, and linens create dreamy, textured layers when draped over stands. Use clothespins to securely fasten fabric. For extra volume and interest, ruffle or gather material.
Paper Fans: Make a bold statement by fanning paper pom poms, tissue paper, streamers, or pages from old books. This eye-catching texture adds depth and dimension to subjects.
Ribbon Backdrop: Alternating patterns and textures of ribbon result in a striped rainbow effect. Layering ribbon types and widths amps up the interest. The vertical lines beautifully frame wedding guests.
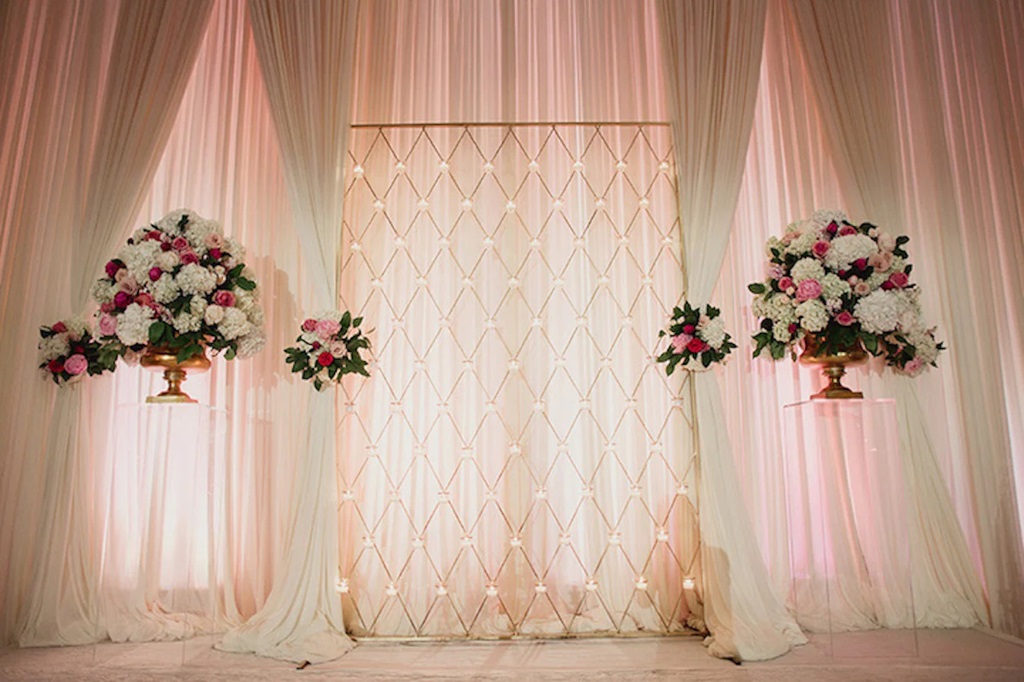
Floral Garland: Fresh or faux flowers and garlands emit a romantic, woodland vibe. Let florals drape down stands or use wire to create special shapes like a flower heart. This organic look pairs nicely with lace or burlap.
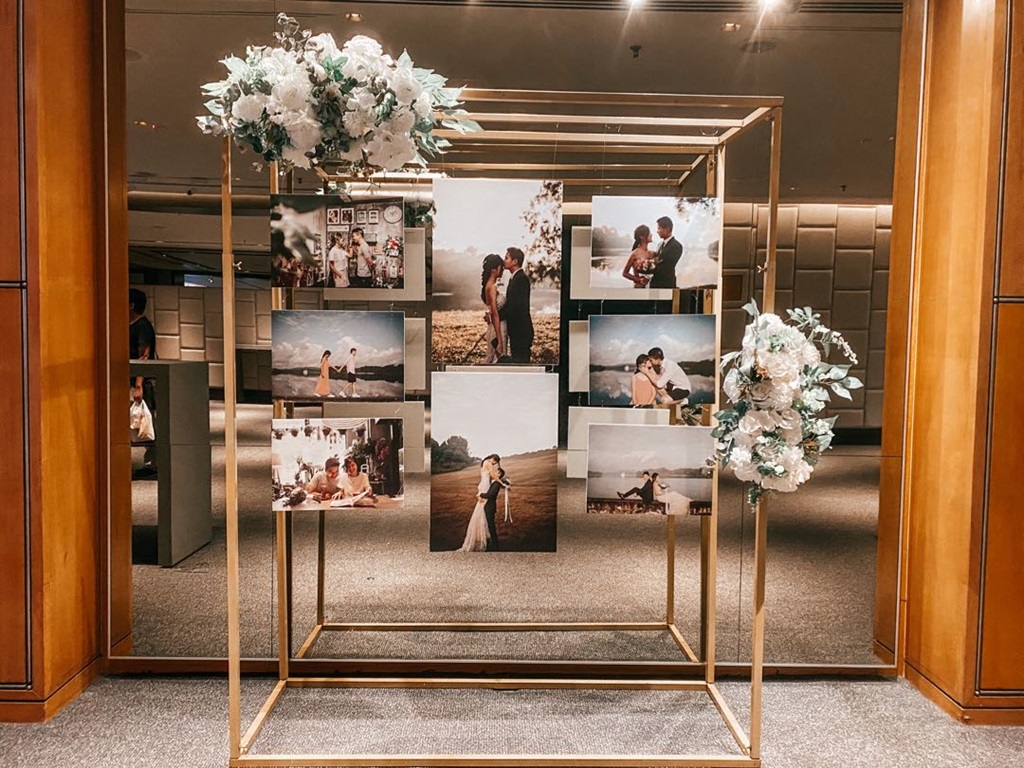
Photo Wires: Use clothespins or mini clips to showcase candid photos from the wedding itself or the couple over the years on parallel wires. The personalized gallery makes a memorable, Instagrammable backdrop for guests.
Greenery: Incorporate living plants like vines, ferns, or eucalyptus into stands for an immersive indoor or outdoor backdrop. Weave stems through stands or plant directly in the ground underneath.
Paper Tassels or Pom Poms: Multi-colored paper tassels sway gently to add eye-catching movement behind subjects. They’re easy to make by yourself or with kids. Similarly, tissue paper or crepe paper pom poms in all different sizes add playful pops of color. Display individually or group together for visual impact.
Chalkboard: At an outdoor wedding, set up large framed chalkboards for guests to leave notes, well wishes, or drawings for the couple. Provide chalk and let guests get creative with this interactive backdrop.
Accessorizing Your Display
After selecting a location and assembling your stand and backdrop, accessorize your display to complete the look! Brand your wedding photos stand with a memorable sign featuring:
- The couple’s name and wedding date
- A custom hashtag for social shares
- Cutesy phrases like “Our Adventure Begins,” “Tied the Knot,” “Happily Ever After,” etc.
Paint signs on wood, chalkboards, windows, or metal signs. Or print titles out on cardstock or fabric. Affix signs to the top of stands or lean them against the legs. Include directions if you want guests to pose a certain way.
Next, provide fun photo props for guests to hang up with like silly glasses, masks, oversized hats, signs or speech bubbles on sticks. Baskets or buckets hold props and make it easy to browse and return.
Scatter confetti, real flower petals, or paper diamonds on the ground and table surfaces to embellish shots. Use tape to secure items on backdrops as well if permitted at your venue.
Finally, complete your display with a bench, chairs, and side tables for resting in between photos. Consider battery-powered fans, pampering necessities like hair spray and powder, and drinks and snacks to create an oasis for guests.
Troubleshooting Common Issues
Despite the best-laid plans, you may encounter minor issues when setting up your photo stand that threatens to put a damper on things. Here are quick solutions to common problems:
Backdrop Won’t Stay Up: Strong winds, flimsy stands, and heavy backdrops can cause wardrobe malfunctions. Use clamps, hooks, Command Strips, binder clips, or chip clips to securely fasten backdrop layers to stands. Weight stand legs with sandbags or stage weights to prevent tipping over.
Distracting Environment: Nearby parked cars, trees, or architecture you don’t want in the background can photobomb images. Use scrims — panels made from wood, foam board, or rigid plastic — to temporarily mask ugly views. Secure scrims to light stands or backdrop legs.
Poor Lighting: Squinty subjects and dark shadows scream amateur photography. Reflect light onto shaded areas with white foam boards on stands. Diffuse harsh midday sun by securing sheer fabric above displays to softly filter light.
Beware Surroundings: avoid settings near loud music speakers, heavily trafficked routes, or seating sections to not distract guests from mingling. Use mounted signs with arrows pointing guests to the photo stand if tucked away in an inconspicuous area. Rope and stanchions prevent overcrowding and formally define the space.
Guest Hesitation: Even with an enticing display, guests may feel shy hopping in without encouragement. Hire an attendant to actively invite passersby to participate. Or have bridal party members and photographers kickstart photo taking then others will follow.
Technical Difficulties: Provide chargers to keep phones and cameras from dying. Keep backdrop surfaces simple to avoid busy patterns competing with portraits. Have emergency sewing kits and tape on hand for wardrobe malfunctions and fallen backdrops. Check lighting and angles periodically since outdoor sun positions and indoor venue lighting can shift.
Conclusion
Your dream wedding starts with stunning photos that immortalize the entire celebration. By setting up a designated photo stand area, you encourage guests to get creative with poses and capture candid memories. The finished images reflect the joyful, playful vibe of your special day. Follow this guide when installing your display to amazed photographers and Instagram fans alike! Most of all, have fun putting your personal stamp on wedding photo backdrops and decor for an effect as unique as your love. Cheers to happily ever after!
FAQs
What supplies do I need to make a photo stand?
You’ll need backdrops like fabric, ribbon, paper fans, etc., and stands like PVC pipe, Shepherd’s hooks, or wooden frames. Include a “Photo Spot” sign and fun accessories like props, seating, lighting, and directions for guests.
How much space do I need for a photo backdrop?
Plan for a 6-10 foot wide area for the stand and backdrop, plus extra room in front for guests to assemble and pose. Rope off 8×8 or 10×10 foot spaces minimum.
Where should I set up the photo stand at my wedding?
Consider areas with flattering lights, interesting backdrops, and enough space nearby for guests not to obstruct traffic flow. Near your reception hall entrance lets guests capture arrival excitement.
How do I decorate the area around my photo stand?
Scatter flower petals, set out chairs/benches, and use signage with wedding hashtags directing guests to pose here. Provide baskets of silly props and make it an inviting space guests want to visit!
What if my backdrop or stand falls over?
Use weights like sandbags for shepherd hook stands and secure backdrop layers with strong binder clips, clamps, or command strips. This prevents tipping from wind or guests tugging too hard on materials.